
Over our last few posts we have been going into detail about the different camera settings that can help make sports photos go from amateur to pro.
If you missed our posts on shutter speed or aperture, check them out here and here.
Today we are discussing ISO, which is the third piece of the puzzle for great exposure and clear photos.
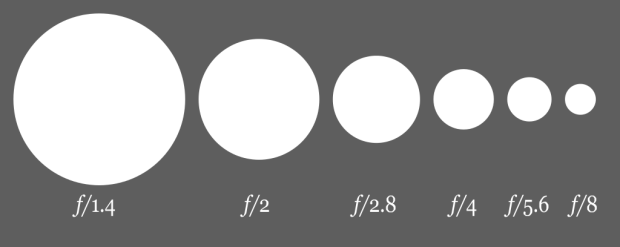
ISO is the level of sensitivity the sensor in your camera has to available light. If the ISO number is lower, the sensor is less sensitive to light and if the ISO number is higher, the sensor is more sensitive to light.
So why does this matter? Because higher sensitivity can help you capture the light better in a photo. This is key when you are shooting in a low light environment, say at an outdoor sports game at dusk or indoors where you can’t use a flash.
So you may be thinking that you will always want to use a higher ISO number, especially when you can’t use your flash. But there is a downside to increase sensitivity to light. Higher sensitivity adds grain or “noise” to the photo. This is what causes photos to look fuzzy or noisy and not as sharp and crisp. It’s a little bit art and science finding the right ISO number for your photos.

Every camera has a “base” ISO number. This is usually the lowest ISO number a camera can take to produce a high quality image without adding noise. Many amateur photographers just stick with the Base ISO in all environments. The Base ISO can help you when light is ideal but when you are working in darker conditions, you will want to understand how to adjust the ISO.
ISO numbers start from the base, which is either 100 or 200 and then they double in value. The ISO sequence is 100, 200, 400, 800, 1600, 3200, 6400 and so on. The key thing to remember about ISO is that every time you increase the number, you double the sensitivity of the sensor. An ISO 400 is twice more sensitive than an ISO 200.
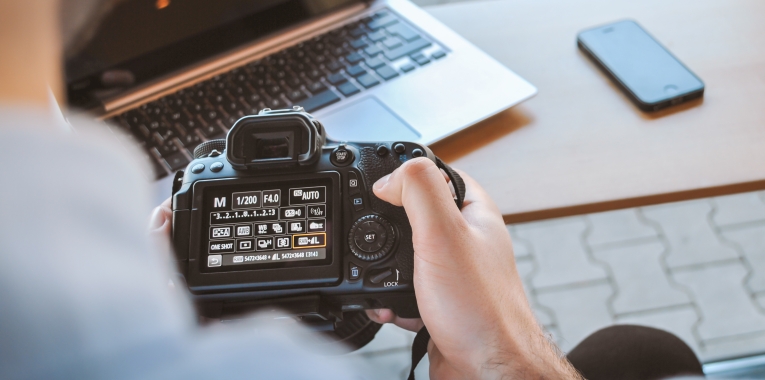
ISO works with shutter speed and aperture because the higher the ISO number, the less time the camera needs to capture the light. For instance, let’s say it takes 1 second for the camera to capture the scene at ISO 100. Well when you increase the ISO to 400, it will take 1/4 of a second to capture the scene. This is important when you are shooting subjects that are in motion. If your camera is at a lower ISO, your sensor needs a longer time to take the photo. A good rule of thumb to follow is that when you increase the ISO, you should increase your shutter speed as well.
If you are shooting on bright sunny days, you can leave your ISO at the Base ISO number or if your camera has the option, leave it at the Auto ISO. But when you are shooting in darker environments, like inside or in the evenings, you will want to increase the ISO number to help capture photos without blur.
At this point you may know that we always suggest the best way to learn about a particular setting is to experiment with it. Take the same photo using different ISO numbers to see the difference in light and graininess. Experiment in both indoor and outdoors light to get a really good feel for it!
Catch up on the rest of the posts in our series:
How To Get Started Using DSLR Camera Settings
A Beginner Sports Photographer’s Guide to Aperture
A Beginner Sports Photographer’s Guide to Shutter Speed
Do you love photography and want to improve your skills? Sign up to receive the latest tips from DC Sports Photography!


 You have probably been thinking about getting a DSLR camera for a while now. Maybe you want to capture special moments in your family’s lives. Maybe you have always had a photographer’s eye and want to improve your skills. For whatever reason, you have made the investment in a beautiful new DSLR camera and now… you have no idea what to do with it. There are so many dials and functions and your owner’s manual seems like its written in a different language. Does this sound familiar?
 If you recently purchased a fancy new DSLR or you are thinking about making the investment, you might feel overwhelmed at all the options and settings on it. Too many amateur photographers invest in great cameras but stick with the automatic mode and never learn how to properly use their camera. The advanced settings and modes in
 If you are interested in taking your photography skills from hobby to profession, you need to have a great photography portfolio. Much like more traditional jobs have resumes and CVs, photographers need to have a portfolio to show off their work. The process of creating a portfolio can seem daunting. You may feel like you don’t have enough photos or that you need to sort through years of photographs. Perhaps you are not even sure how to get started creating your portfolio. If you want to take the step from hobbyist to professional, they you need a portfolio. Whether you are new to photography or have been shooting for years, learn how to build an amazing photography portfolio by following these tips!
 Remote cameras allow photographers to shoot multiple areas of the game, race or match, without actually being there. It also offers a way to achieve multiple angles that photographers often cannot achieve on their own.
 Many sports photographers choose the point of major action to set up their remote cameras. For example, in hockey you may want to set up a camera above one of the goals to get a overhead shot. In basketball, behind the hoop is a great way to capture really great action photos.
  No matter where you choose to set up your remote camera or how you choose to use it, they can be invaluable tools if you want to advance your sports photography career.
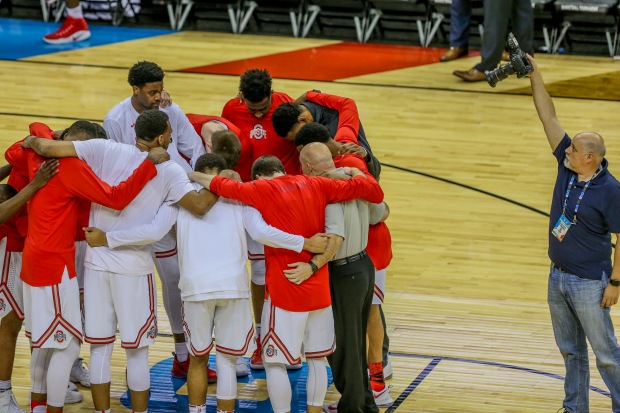
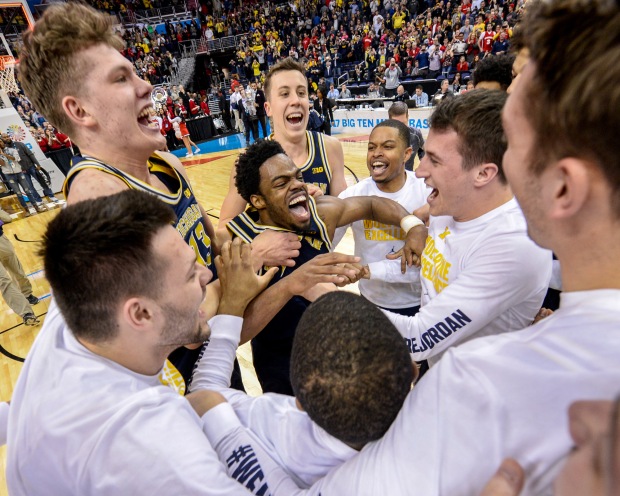
 Emotion Photos
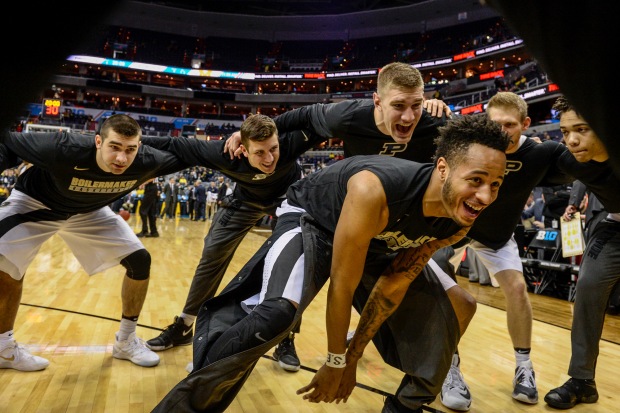
 Graphical Photos

 Ready to improve your sports photography skills?